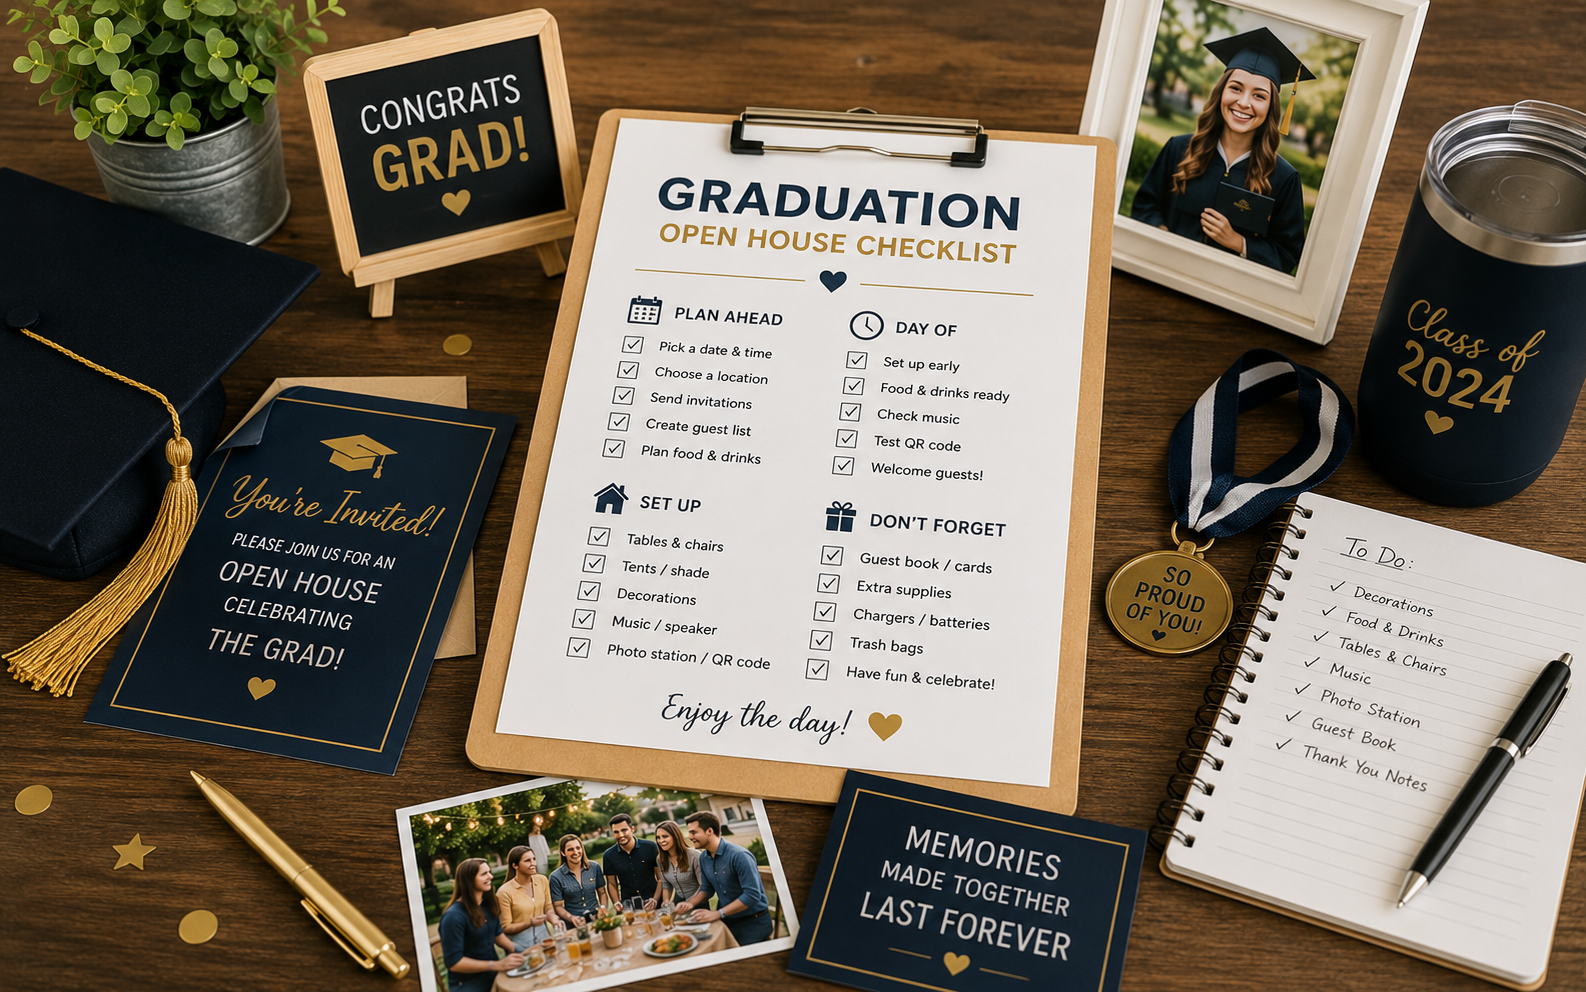
Planning a graduation open house without a checklist is how families end up at 11am on party day realizing nobody ordered the cake. The open-house format feels casual, and that casualness tricks people into thinking it doesn't need a plan — but the rolling window, the unpredictable headcount, and the long food exposure all demand more forethought, not less. Here's the graduation open house checklist, broken into phases so you always know what to do and when, from three months out to the moment you close the door behind the last guest.
3 months before
- [ ] Pick the date. Check the ceremony schedule, family travel, and other grads in the friend group. Late-May and June weekends fill fast, so coordinate early so shared guests can attend everyone's party.
- [ ] Decide the time window. Two to four hours, early-to-mid afternoon. "1–5pm" or "2–6pm" are the most common.
- [ ] Draft the guest list. The grad's friends, your friends, family, neighbors, mentors. The number tells you whether you need your house, a relative's bigger yard, or a rented hall.
- [ ] Lock the venue. Home is free and usually best. If you need more space, book now — popular halls and pavilions go fast in spring.
- [ ] Set a budget ceiling before you start spending, so the "just one more" purchases don't quietly double it.
The three-month mark feels early, but it's exactly when the highest-stakes decisions need to happen. The date, in particular, is harder to change later than anything else on this list, and in graduation season you're competing with every other family in your grad's circle for the same handful of weekends. One quick group text with the other parents saves you from throwing a party the same afternoon as three others, and it's the single easiest way to boost your turnout. Locking the venue and the budget now means every decision after this is just details, which is a much less stressful place to plan from.
6 weeks before
- [ ] Send invitations. Paper or digital, with a firm RSVP date two weeks out. State the format clearly: "Open house — drop by anytime 1–5pm." Include the address, parking note, and an RSVP method.
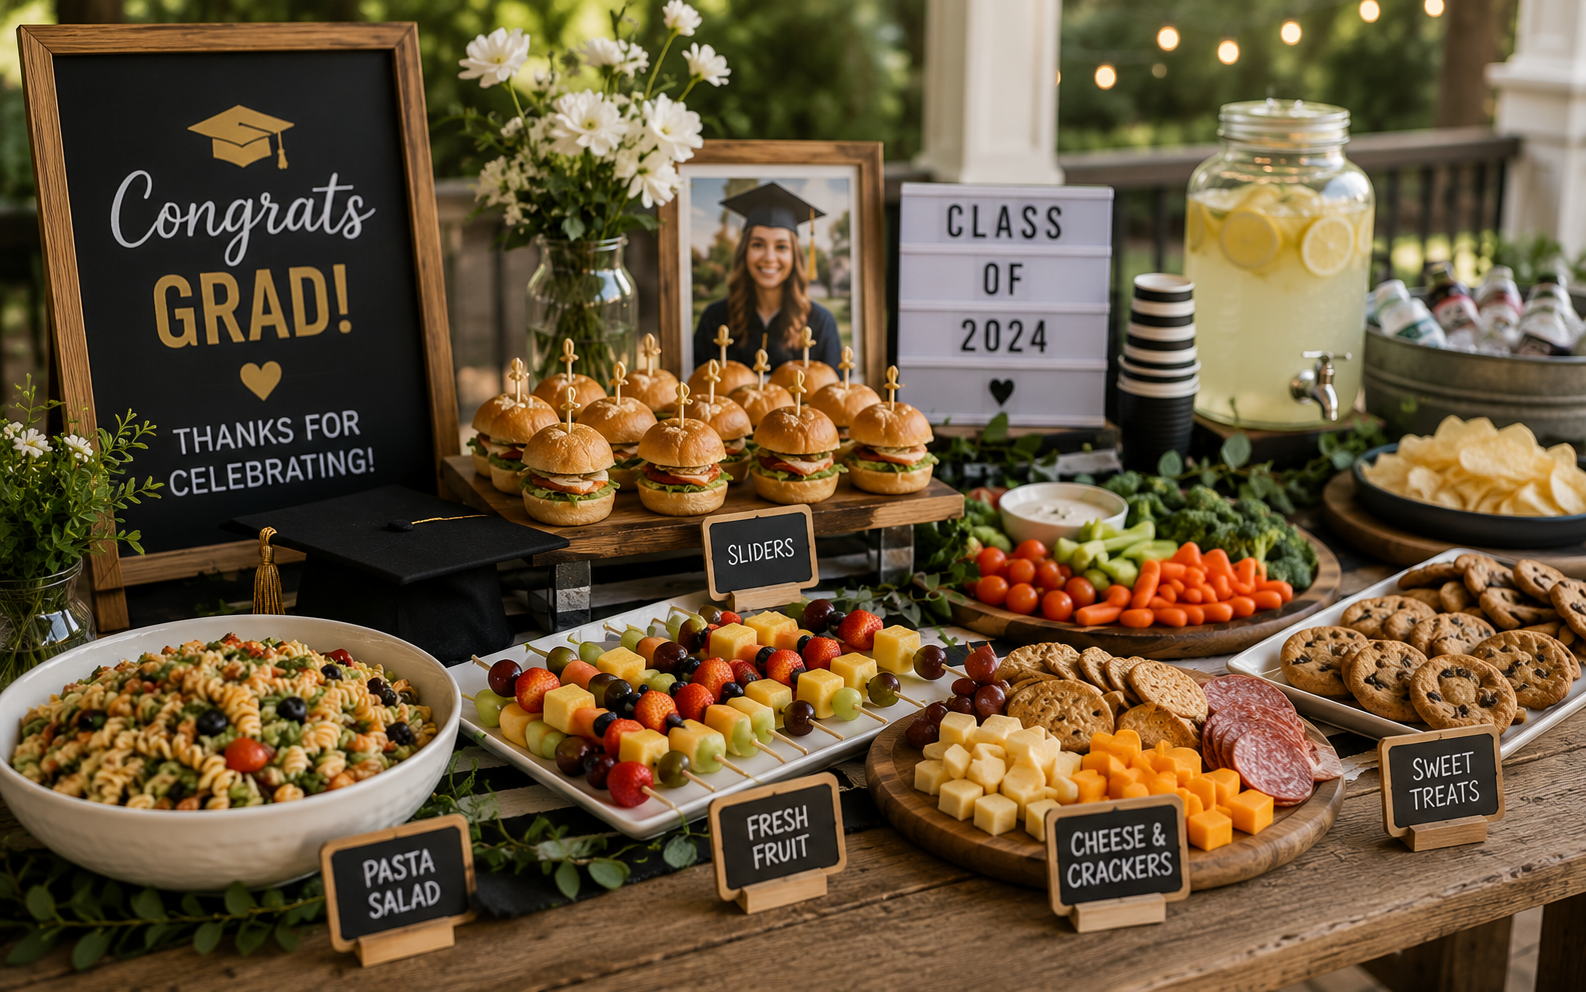
- [ ] Plan the food menu. Self-serve finger food that survives a long window: sliders, wraps, fruit and veggie trays, a cheese board, slow-cooker meatballs, cupcakes. See the full menu guide: graduation open house food ideas.
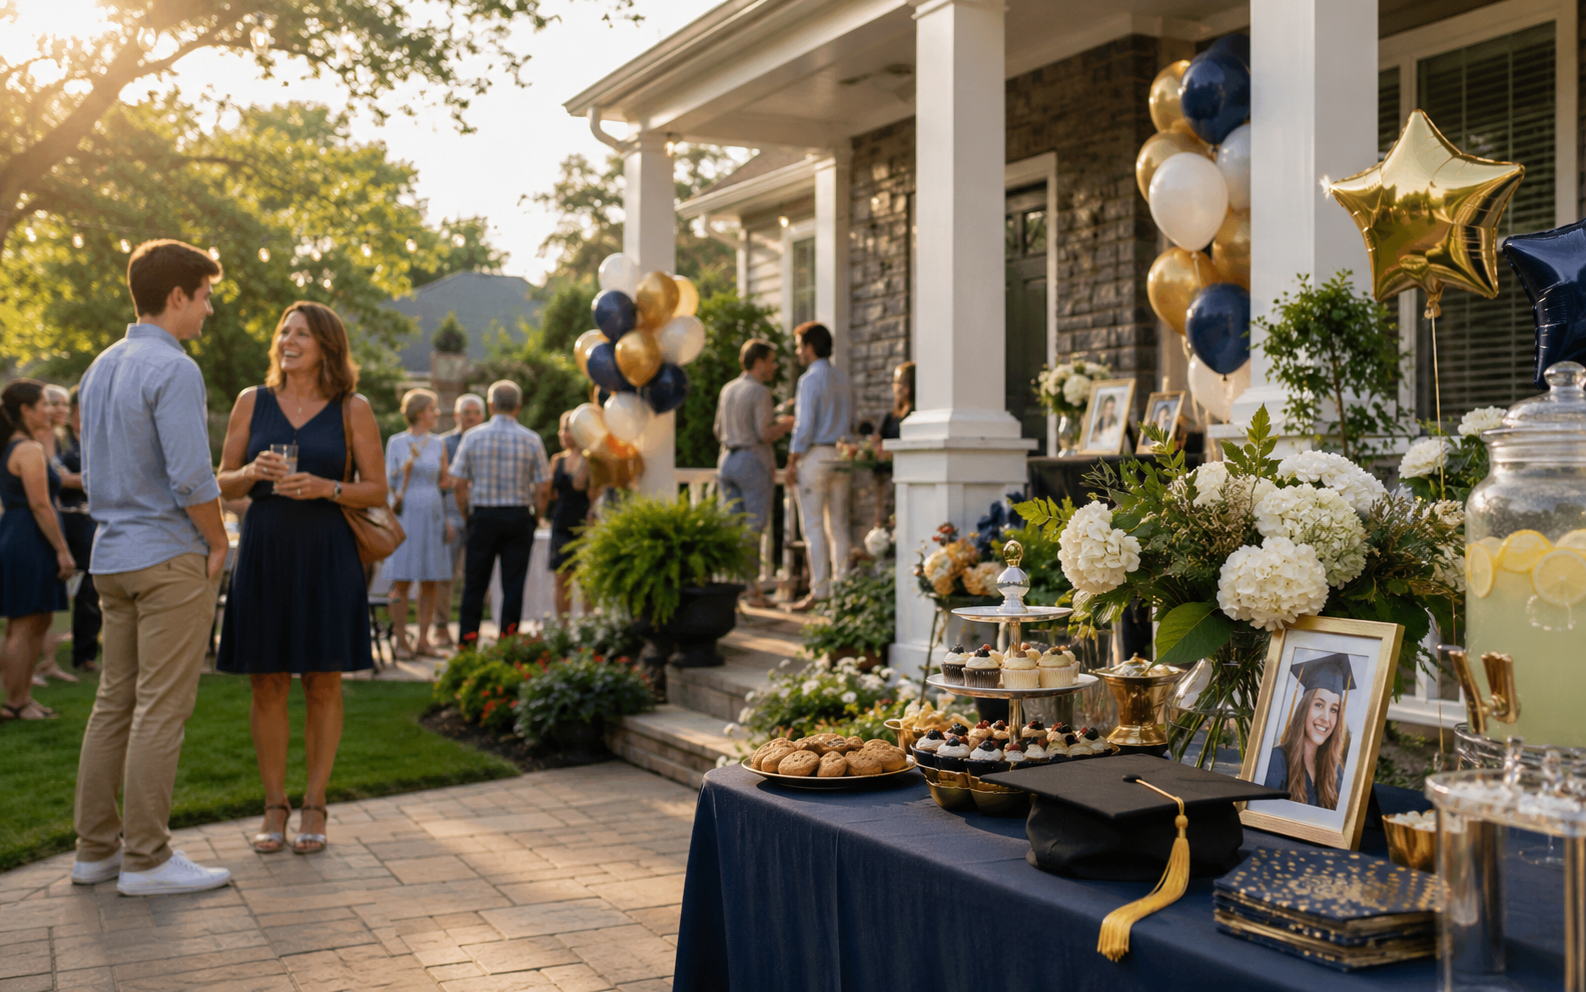
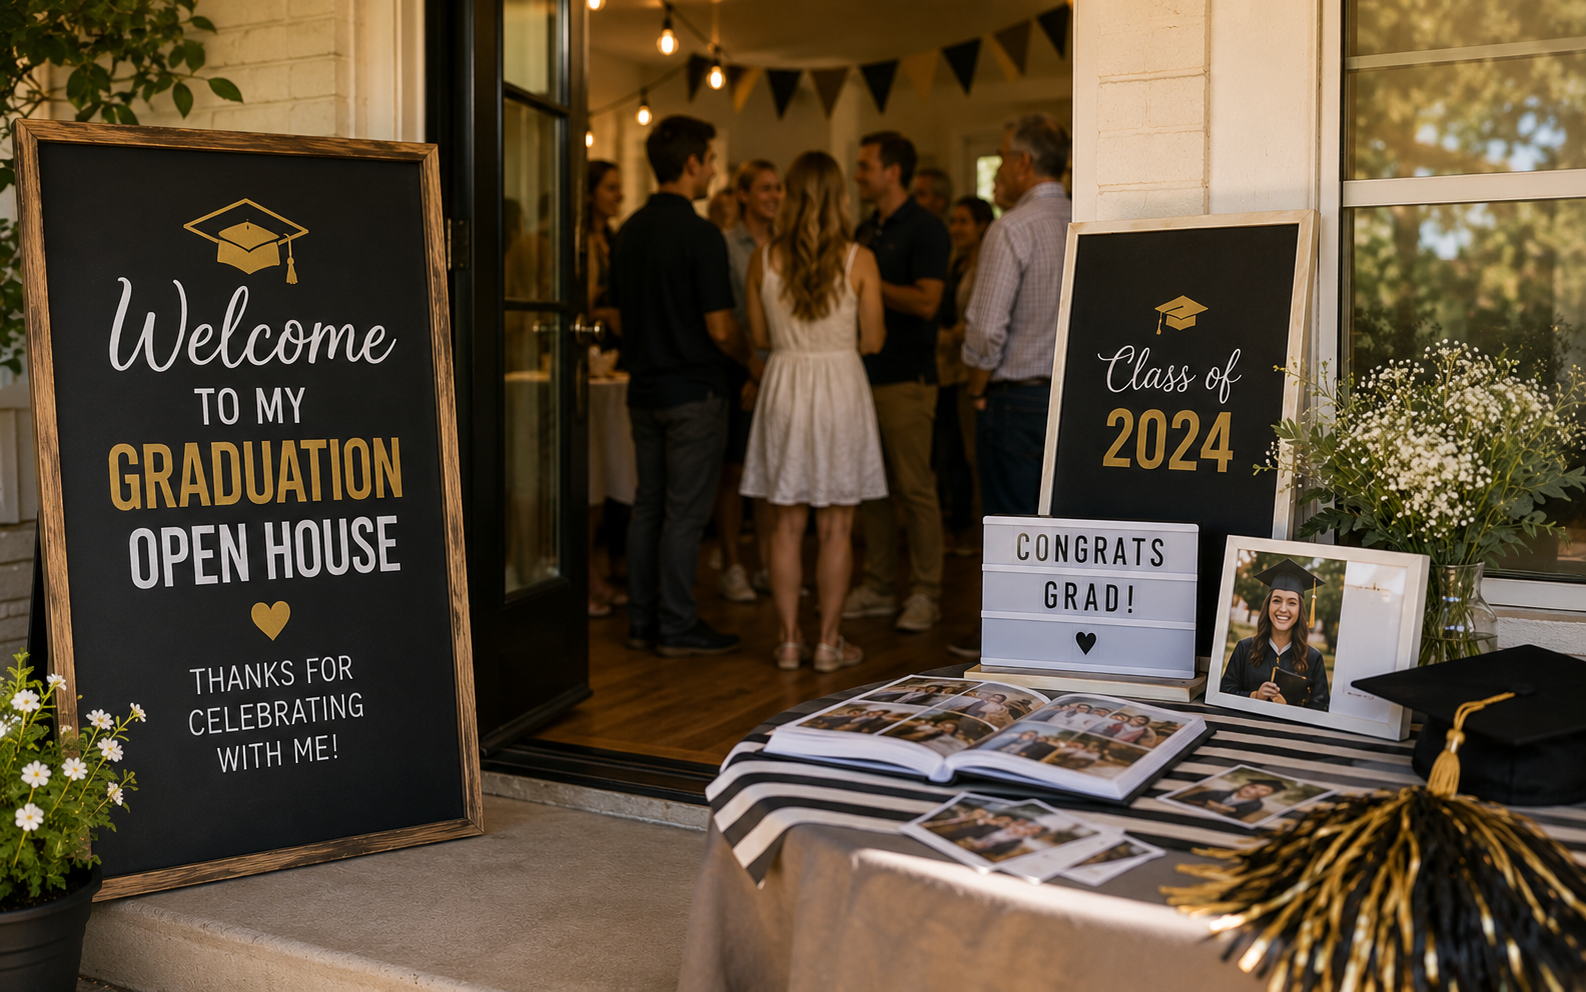
- [ ] Plan decorations. Focus on three zones: entrance (banner + balloons), food table (school-color touches), and memory/photo area. Full guide: graduation party decorations.
- [ ] Decide the photo plan. A QR guest gallery ($49, covers the whole party all day) or a booth rental ($300–$600, covers one corner for a limited block). For open houses, the gallery wins because guests arrive across hours. Set up your Grad Moments gallery now so QR codes are ready to print with your decor.
- [ ] Pick a guest book. A sign-a-cap, an advice-card jar, or a digital guest book with audio and video messages.
- [ ] Book a caterer if you're using one; otherwise finalize your DIY menu.
Six weeks out is when the plan turns from abstract to concrete. Everything you order, book, or decide now has enough lead time to go smoothly and enough buffer to absorb a mistake. The photo plan is the one line item most checklists skip and most families later regret — settling it now, alongside invitations and food, means the QR codes print alongside your decor instead of being a panicked afterthought the night before.
2 weeks before
- [ ] Chase RSVPs. Follow up directly with the stragglers — your food quantities depend on this number.
- [ ] Finalize food quantities. Cater for peak-hour attendance (roughly 60% of your invite list at once), not the full list eating simultaneously.
- [ ] Order the cake or dessert and confirm pickup time and date.
- [ ] Print QR codes. Grad Moments includes 18 templates — table tents, yard signs, invitation inserts.
- [ ] Build your day-of timeline. Use the free interactive timeline planner with the open-house template for a minute-by-minute schedule.
- [ ] Recruit your day-of crew. Food captain, gift-table wrangler, greeter, and photo nudger. Brief each on their role.
Two weeks out is when planning shifts from creative decisions to logistical ones. The guest count starts to firm up, which finally lets you commit to food quantities without guessing. This is also the moment to recruit your day-of crew — asking three weeks earlier gets vague good intentions, but asking now, with a specific job and a specific date, gets real commitments. Walk each helper through the rough shape of the day so nobody shows up on Saturday not knowing what they're supposed to do.
1 week before
- [ ] Confirm the grocery order or caterer.
- [ ] Borrow or rent tables, chairs, a tent or canopy if needed.
- [ ] Prep what you can. Assemble decorations, sort props, set up the memory display, prep any food that holds.
- [ ] Build the playlist. 80% the grad's picks, 20% crowd-friendly background.
- [ ] Confirm weather forecast and finalize your rain/heat backup plan (pop-up canopy, indoor zone, fans/shade).
- [ ] Charge all devices — your phone, the photo device, and any speaker.
Day before
- [ ] Set up as much as you can. Tables, tablecloths, the memory display, signage, the QR table tents.
- [ ] Prep cold food — cut fruit, assemble wraps, fill the veggie tray — and refrigerate.
- [ ] Stage the slow cookers and chafing dishes so you only need to fill and plug them in tomorrow.
- [ ] Pack a "rain plan" box — a few indoor-game backups and a plan for moving food under cover.
- [ ] Set a hard stop for yourself tonight. Go to bed early; you earned it.
The day before is when anxious hosts try to do everything at once and exhaust themselves before the party even starts. Resist that. The checklist above front-loads the hard decisions to weeks ago — by now, everything creative is decided and most of it is bought. Tonight is purely physical setup and cold-food prep, and once it's done, you stop. The single best thing you can do for tomorrow is get a full night of sleep, because the host who's rested actually enjoys the party, and the host who stayed up until 2am arranging the memory table is running on fumes by the time grandma arrives.
Day of
- [ ] 2–3 hours before: Set up food stations, place decor, put out QR signs, start the slow cookers.
- [ ] 30 minutes before: Put out cold food, cue the playlist, do a final walkthrough.
- [ ] Stop. Change clothes, breathe, eat something yourself. You are not allowed to still be setting up when the first guest arrives.
- [ ] During the party: Greet, enjoy, let the crew handle food and gifts. The QR gallery collects photos on its own.
- [ ] Mid-party peak: Do the group photo and a short toast while you have the most people.
- [ ] Last hour: Set out send-home containers, dessert front and center, begin soft cleanup in waves.
- [ ] After the last guest: Break down the QR signs last (late uploads keep coming). Download the gallery, start on thank-you notes.
After the party
- [ ] Download the gallery ZIP within your hosting window.
- [ ] Send thank-you notes within a month, with the gallery link as a digital favor.
- [ ] Order a print album from the gallery's PDF — a keepsake and a gift for grandparents.
Build your own interactive version of this checklist — with custom dates and a downloadable PDF — using the free graduation open house timeline planner. And for the full hosting walkthrough, see the graduation open house guide.
Pillar: Graduation Open House
Frequently Asked Questions
Collecting guest photos?
Grad Moments gives your guests a QR code to upload photos and videos — no app, no login.
See How It Works